


If you are trying to install Webroot new on macOS Sierra, please click here.
First check to see which version is currently installed:
- Double-click on the Webroot icon to open the Mac agent.
- In the lower right corner of the agent, double-click on My Account.
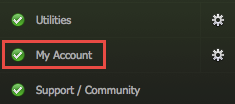
The My Account area expands to display your keycode number, days remaining in your subscription, and your version number.
If your version number is 9.0.2.45 or later, then you have the most current version of Webroot SecureAnywhere for Mac and you do not need to do anything.

If your version number is earlier than 9.0.2.45, then you must update your version of Webroot SecureAnywhere for Mac. Please continue with this procedure.
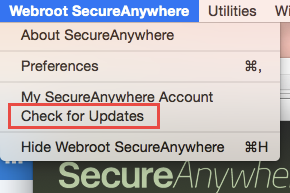
- With the Mac agent open and active, in the upper left corner, from the Webroot SecureAnywhere drop-down menu, select Check For Updates.
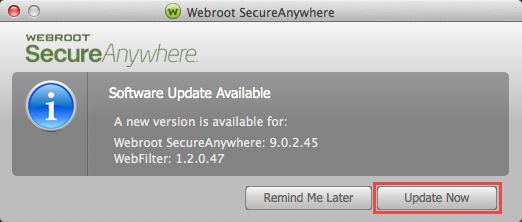
- If you are not up to date, the system displays the following message. Click on "Update Now":
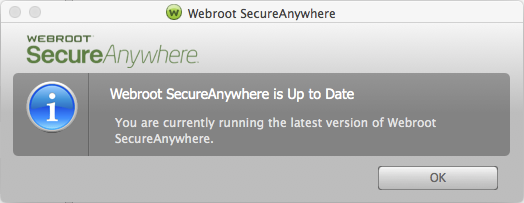
- If the update is successful, the system displays the message:
If the update is unsuccessful, follow the instructions below to uninstall and reinstall Webroot SecureAnywhere for Mac.
Make note of your keycode and you must be connected to the Internet to reinstall the software.
To uninstall Webroot SecureAnywhere, follow the instructions below.
- Shut down SecureAnywhere by clicking the Webroot icon in the menu bar and selecting Shut Down SecureAnywhere. [img]https://uploads-us-west-2.insided.com/webroot-en/attachment/33582i85EA43D379123D73.png[/img] Webroot SecureAnywhere is now uninstalled. There is no need to restart your computer.
To install the software:
- Click here to download the SecureAnywhere installer to your Mac.
- Double-click wsamac.dmg to open the installer.
- Drag the Webroot SecureAnywhere icon into the Applications folder. [img]https://uploads-us-west-2.insided.com/webroot-en/attachment/33583i62E20457A1E6EECB.png[/img]
- Open the Applications folder by double-clicking the folder icon.
- In the Applications folder, double-click the Webroot SecureAnywhere icon to begin activation.
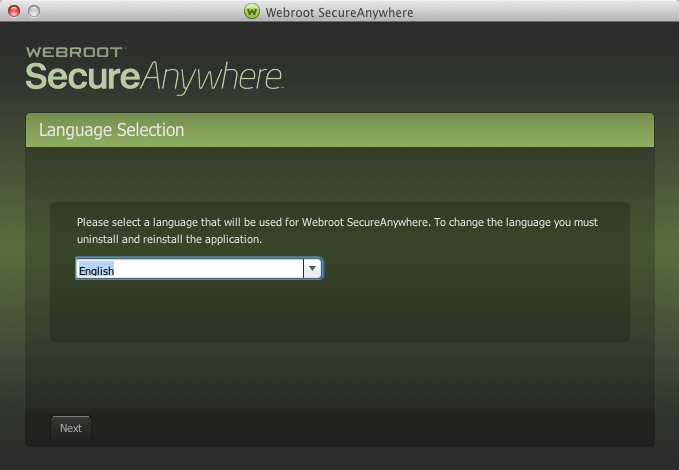
- In the first activation window, select a language from the drop-down box and click Next. Note: Make sure you select the desired language. Once SecureAnywhere installs, you cannot change it.
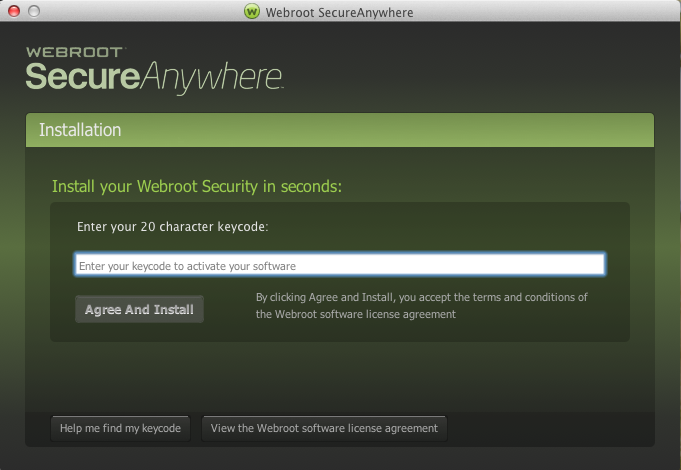
- In the first activation window, enter your keycode and click Activate.
Your keycode is the 20-character license that identifies your Webroot account. If you purchased the product online, the keycode is provided in an email from Webroot. If you purchased the product in a store, the keycode is provided in the retail box. In addition, the keycode identifies whether you purchased a multi-user license, which allows you to install SecureAnywhere on up to three or five Macs.
- In the next panel, enter your email address and click Continue. (If you don't want to provide your email address, you can click Cancel to skip this step. The installation continues even if you click Cancel.) [img]https://uploads-us-west-2.insided.com/webroot-en/attachment/33591iF6F0C69394D2C20E.png[/img] [img]https://uploads-us-west-2.insided.com/webroot-en/attachment/33592i78F89975E03D95D7.png[/img] This icon indicates that the Web Threat shield is enabled. See Using Web Threat protection. [img]https://uploads-us-west-2.insided.com/webroot-en/attachment/33593iC9D8ECAEF325C92E.png[/img] This icon indicates that the Password Management features are enabled. It is grayed-out when you first install the extension. If you have already created an account, you can click on the icon and enter your login credentials to begin using Password Management. See Getting started with the Password Manager. [list]
- When the Activation Successful screen opens, click the Scan Now button. SecureAnywhere begins scanning your Mac for viruses, spyware, and other potential threats. If it detects threats during the scan, it prompts you to move the items to quarantine. In quarantine, the items are rendered inoperable and can no longer harm your system or steal data. For more information, see Managing detected threats.
- In the Scan Complete window, click Close. The main window opens. For more information, see Using the SecureAnywhere interface. After the initial scan, SecureAnywhere automatically scans your Mac daily and constantly monitors activity as you surf the Internet. You do not need to launch a scan yourself or schedule scans. SecureAnywhere does all the work for you in the background. To verify that SecureAnywhere is running, look for the Webroot icon in your menu bar.